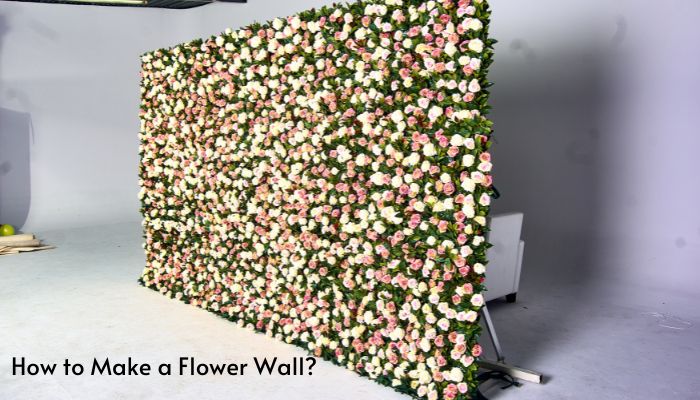
Adding a floral wall to your event or venue is a great way to enhance the aesthetic value. Weddings aren’t the only special events when flower walls appear as a picture background or decoration. The methods for creating your floral wall are detailed here.
Table of Contents
Detailed Gide on Making a Flower Wall
Step 1: Choose Your Flowers

While making a flower wall, the first thing to do is to choose the flowers you will use. The flowers you choose for a wall arrangement should be sturdy enough to withstand being up there for an extended period without drooping or wilting. Flowers such as roses, peonies, hydrangeas, and chrysanthemums make beautiful flower walls. If you want your fence to have more depth and texture, try including some plants.
Consider the overall color scheme you’re going for while making your flower selections. For example, if the wall is going to be used for a wedding, it may look nice if the colors match those of the bride and groom. On the other hand, choose a color scheme that works well with the room where the wall will be installed.
Step 2: Gather Your Supplies
Now that you’ve decided on your blooms, it’s time to gather your equipment. Everything You’ll Need is Listed Below:
- Flowers (including greenery, if desired)
- Scissors or floral snips
- Floral foam
- Mesh or chicken wire
- Wire cutters
- Zip ties
- Command hooks or other wall-hanging materials
- Water
Step 3: Prepare Your Floral Foam
To make a flower wall, you’ll need floral foam. You may use it to assist your flowers in staying put and moist. Then, submerge your floral foam in water for at least 30 minutes. Using this method, your flowers will stay fresher for longer since the foam will absorb more water.
When the foam has been wet, cut it into pieces that will fit through your mesh or chicken wire. Ensure the components are large enough to support your flowers’ weight without breaking.
Step 4: Create Your Framework
As a further step, build a support system for your floral screen. Here, either chicken wire or netting will do. Chicken wire is more substantial and can support more weight than its mesh counterpart, but the mesh is more flexible and straightforward to work with.
Before constructing your flower wall, you must trim your mesh or chicken wire to size. To get the correct length of wire, you may utilize wire cutters. Next, using command hooks or any other method of wall attachment, you may hang the wire. Considering the weight of your blossoms, the wire must be appropriately attached to the wall.
Step 5: Attach Your Floral Foam
After constructing a wire frame, it is time to secure the floral foam to the structure. To attach the foam to the wire, use zip ties. A grid design may add more zip ties to ensure your floral arrangement further.
You should ensure the foam is firmly fastened to the wire since it will bear the weight of your flowers. You may get a more organic appearance by layering vegetation over the foam.
Step 6: Add Your Flowers

Flowers should be added at this time. Get started by adjusting the height of your floral and foliage stems. Be sure they reach the floral foam without protruding over it, but don’t cut them too short, either.
When the stems have been cut, put them at an angle into the foam. Greenery may serve as a foundation, with flowers added on top. To get a more natural appearance, try mixing flower heights and colors.
Step 7: Fill in the Gaps

You may find holes in your flower wall as you add blooms. Don’t fret; this occurs more often than you may imagine. You may use smaller flowers or some foliage to fill up the spaces between the larger ones.
Floral wire or floral tape may secure your blossoms to the wire support system if the spaces between them are vast. This will help connect them and prevent them from dislodging themselves.
Step 8: Water Your Flower Wall
Lastly, it would help if you watered your flower wall regularly. Your flower wall may require watering once a day or twice a day, depending on the kind of flowers you’ve selected to grow there. Keep the flowers and foam damp by misting them with a spray bottle or by adding water to the foam.
If you want to extend the life of your flower wall, it’s best to keep it away from direct sunshine and heat.
Conclusion
A flower wall is a lovely and satisfying DIY project requiring little time, effort, and imagination. Whether for a wedding, a picture background, or to add some floral beauty to your house, a flower wall is guaranteed to make an impression.
To make a flower wall, you’ll need to collect materials, produce floral foam, construct a wire framework, connect floral foam, add flowers, fill in any spaces, and water the wall often. A beautiful floral wall created following these instructions may enhance the aesthetic appeal of any room.
If you liked it, then make sure to check out additional tips and tricks all available to you in our home section.

