As the saying goes, we must destroy in order to create.
You’ve probably been there before. You’ve spent several weeks and months trying to make your mundane home turn into a cozy paradise for you, your family, and possibly your friends if they want to stay for the night. Just think You’ve finally made your dream come true and what a great success it is! Until you realize that there’s still some leftover debris lying around the house.
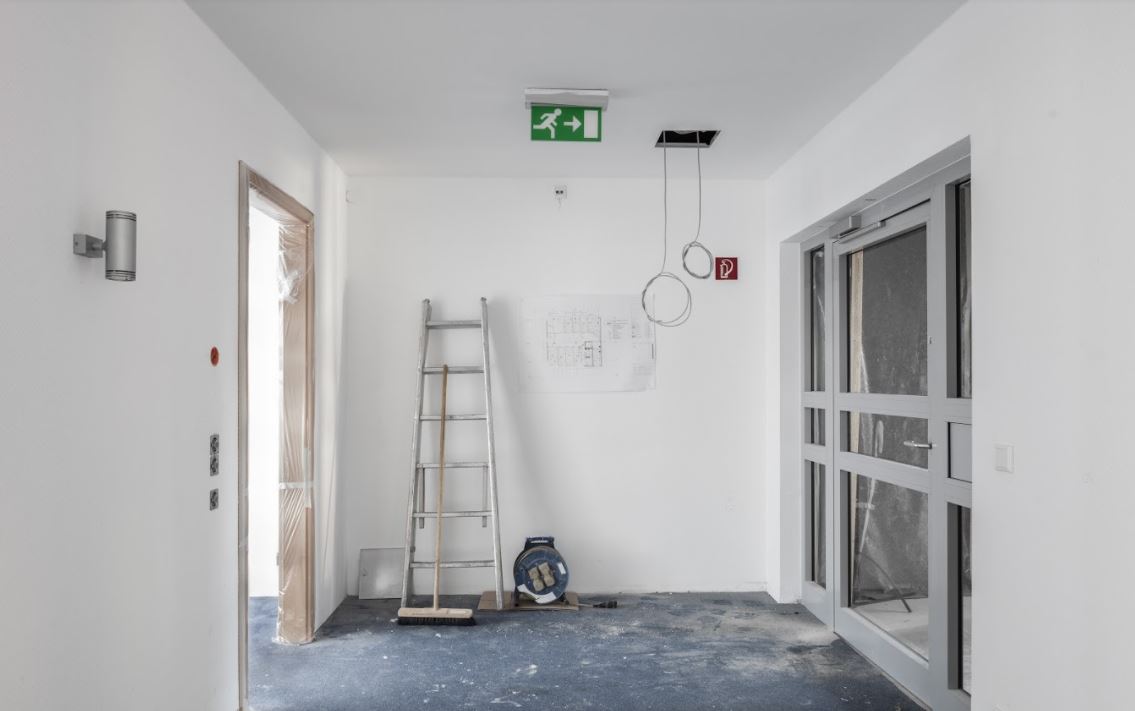
That’s right, debris. Byproducts of progress and pesky squatters that delay you from experiencing the comfort of your now good-as-new home. The floor’s a mess, the paint cans are everywhere, brushes drying out where they shouldn’t be, sawdust lining the walls, chalky residue where your picture frames should be resting, your couches still draped in plastic—look at this nightmarish prelude that stands between you and celebration! It sounds like a pain in the neck to tidy up completely but do not fret, you can still save yourself the trouble as long as you plan this out.
Luckily for you, this guide will be here to help you conquer this daunting task. Any items you have that couldn’t be recycled or require proper disposal, like cans of paint, should be taken care of first. With that, you should consider visiting websites like Same-Day Rubbish Removal if you aren’t sure of what you can and can’t get rid of entirely. As for everything else, read on and save yourself the trouble.
Safety First!
Let’s not forget that while your house might be as good as new, you’re still prone to meeting accidents while you clean. Slips, trips, and falls can be quite dangerous, so it’s best to stay vigilant while you do this. Let’s get you prepared for the main act:
- Gloves – Long gloves or short gloves will work, so long as they protect your hands from dust, paint residue, or splinters.
- Safety Goggles – Trust us, you don’t want dust getting in your eye. You don’t want tiny bits of wood getting in there either.
- Apron – An apron is ideal if you’re wearing your regular clothes underneath.
- Elbow Pads/Kneepads – You’ll be doing a lot of kneeling or leaning on surfaces. We don’t want your bones needing a “renovation”.
- Dust Mask – Breathethe air in, keep the dust out. It will definitely preserve your health, too.

Table of Contents
With you properly suited up for the job, let’s get on with the cleaning.
1. Isolate the Renovated Area(s)
Before you begin cleaning an area out, it would be best if you isolated the area first by blocking it off with a heavy-duty tarp. Tape it to the floor and the ceiling to make sure that all the floating particles within the area are contained. If you know that there are hazardous particles floating about, install a second layer of the tarp.
2. Vacuum, Vacuum, Vacuum
Start by vacuuming the walls, the floors, and the ceilings. By doing this, you will minimize the risk of particle clouds floating about. It should also ease your breathing while cleaning, aswearing any form of PPE could make you feel a little steamy. After taking off the plastic covers from your furniture, vacuum the upholstery.
3. Disinfect the Floor
Take your favorite mop and soak it in a bucket of water mixed with cleaning products. Mop the floor thoroughly and let it dry. Do not forget to mop beneath furniture, tables and chairs, and shelves if they apply as you might have missed these while vacuuming. Once the floor smells nice and clean, move onto the next step.
4. Wipe Anything and Everything
With a damp cloth, begin to wipe the top of your shelves and surfaces. Keep a bucket nearby so you could wring the cloth of any dust particles it might have absorbed. Soak it again and continue to wipe down knobs, seats, doors, engravings, and corners of the floor. The skirting boards may require a wipe, too, if your mop could notreach them.
5. Sanitize Eating and Bathing Areas
If you have renovated a kitchen, a dining room, or a bathroom, take a bucket and cleaning products with a heavy-duty brush to clean. Scrub the floors, the walls, and the nooks and crannies where appliances may have been. Once it’s all dry, these areas should be germ-free.
6. Dust Air Vents, Windows, Fans, and Fixtures
When air blows through the vents, you wouldn’t want dust getting in your glass of drinking water or your soup, so bust out that duster and shake it about in the air vents. Take it to the blinds, curtains, and windows and dust out any particles that might have been caught in them. If you have electric fans or ceiling fans, a good dusting or wiping might help those, too. Do not forget to dust off any lamps or fixtures you have, especially if the lampshades are made of upholstery.
7. Clean Inside the Closets
Before putting anything inside the cabinets, you might want to take out any debris inside first. Dust, vacuum, clean, or even sanitize if you have to, the clothes you take out of your closets should never smell like an allergy waiting to happen.
Final Touches
Take the tarps out and you should have a nicely cleaned-out, renovated area in your house! If you think that something might still be amiss, it might be a picture out of place, curtains that don’t match the carpet,or a missing bit of furniture. With the headache of cleaning out of the way, you can now go crazy with decorating.
