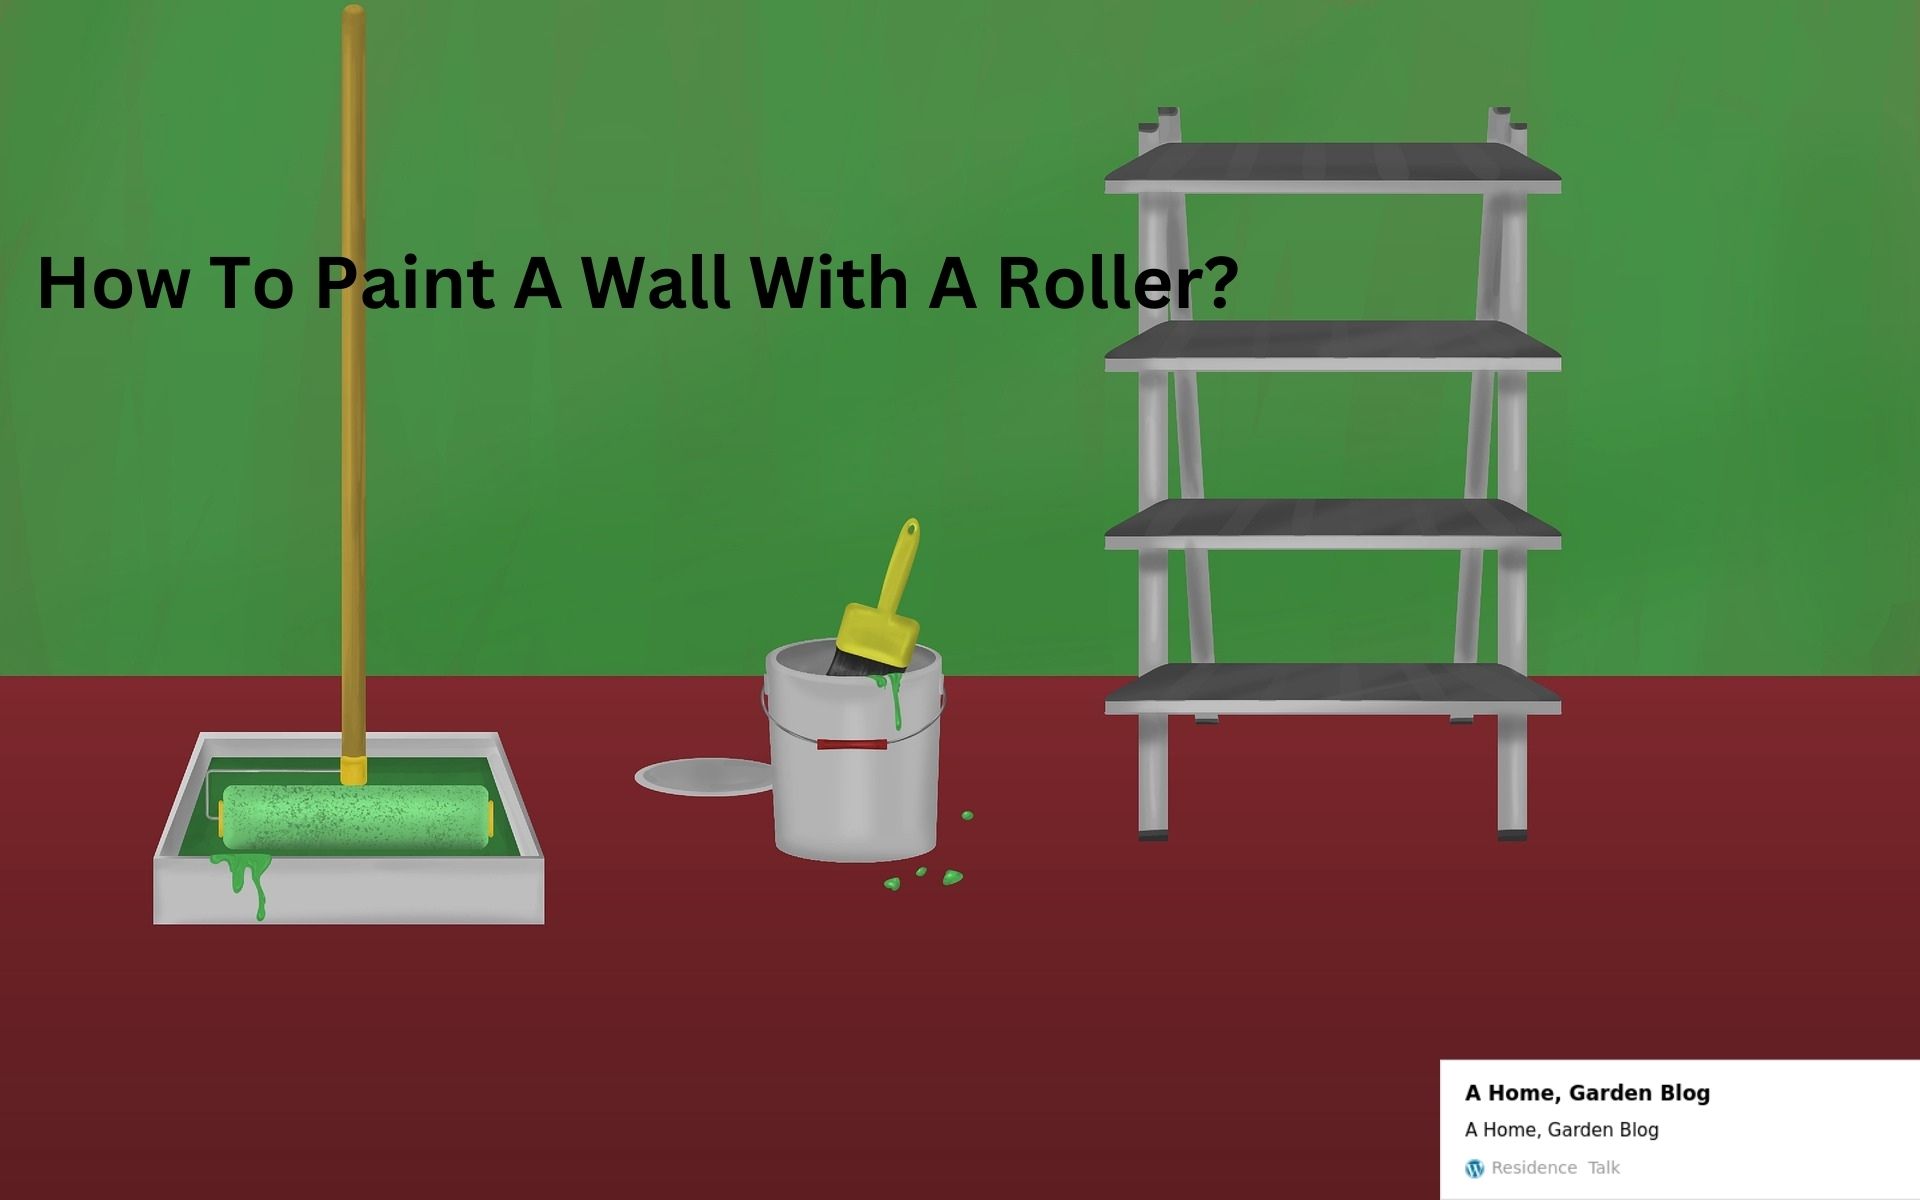
Using a roller to paint walls stands as the most economical and efficient method to update your living space. Learning to use a roller correctly will help both experienced DIY painters and beginners achieve professional outcomes while saving time on their projects. This article provides step-by-step guidance on How To Paint A Wall With A Roller starting from preparation through to final cleanup. Let’s get started!
Table of Contents
Why Use a Roller for Painting?
The flat surface of walls makes rollers the perfect tool for this application. Rollers offer uniform coverage while eliminating streaks and complete big areas much faster than brushes do. The proper application technique enables you to create a flawless smooth surface that will transform your room.
Tools and Materials You’ll Need
Before diving into how to paint a wall, gather the following supplies:
- Paint roller (with a suitable nap length for your wall texture)
- Roller frame
- Paint tray
- High-quality paint (latex or oil-based, depending on your needs)
- Painter’s tape
- Drop cloths or plastic sheets
- Sandpaper (medium and fine grit)
- Spackle and putty knife (for wall repairs)
- Primer (if needed)
- Extension pole (for hard-to-reach areas)
- Stir stick
- Damp cloth or sponge
7 Steps on How To Paint A Wall With A Roller
Step 1: Prepare the Room
Start your project by removing furniture from the room or by placing drop cloths on top of furniture to prevent paint from damaging surfaces. Plastic sheets and drop cloths should be placed on the floor to collect any paint drips. Apply painter’s tape across baseboards and trim and edges which need protection from paint. Use a damp cloth to wipe walls clean from dust before fixing holes and cracks with spackle. Sand the walls lightly for a smooth surface.
Step 2: Prime the Wall (If Necessary)
The process of priming serves as a vital requirement when dealing with dark colors or repairing surface damage or working with fresh surfaces. The paint sticks better to surfaces when you apply primer because it creates a better bond between the wall and the paint layer. Use a roller to apply the primer according to the same method you will use for painting. Apply primer evenly across the entire wall surface and wait for complete drying time before starting the next step. Not performing this step will produce paint surfaces with uneven distribution and weak bond strength.
Step 3: Stir and Pour the Paint
The next step involves preparing the paint after the wall receives proper priming and preparation. Use a stir stick to mix settled pigments inside the paint can after opening it. Add paint to the paint tray until it reaches the bottom ridge but avoid overfilling the container. The tray should not receive more than the necessary amount of paint since excess material will overload the roller. The quality of paint application and coverage improves when the paint mixture is correctly done and poured which results in easier and more efficient painting work.
Step 4: Load the Roller
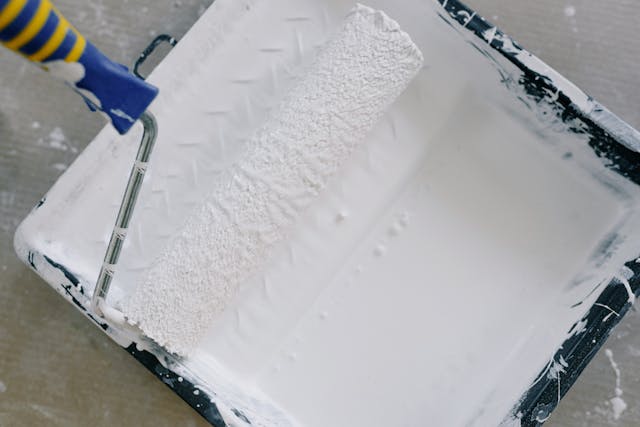
The correct loading method of the roller plays a vital role in delivering a uniform finish. Roll the roller through the paint tray while moving it back and forth until it becomes evenly coated. The roller should not receive too much paint because overloaded paint will result in uneven application. Use a brush to remove any extra paint from the ridges of the tray so the roller gets a balanced coating. A roller properly filled with paint enables smooth application that prevents wall patches and streaks from forming.
Step 5: Start Painting
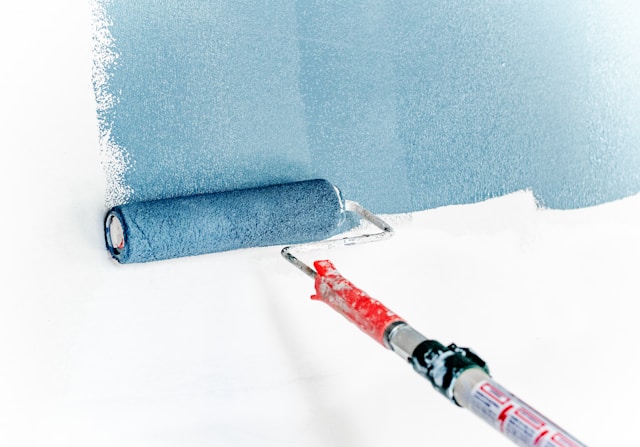
Start your painting process by using a brush to cut in the edges before moving on to use the roller for covering large areas. Begin painting from the top wall corner by moving down while creating “W” or “M” patterns to achieve smooth and even paint distribution. Use vertical or horizontal strokes to fill in gaps while maintaining a constant rolling direction. Paint small areas at a time while keeping the edge wet to stop the paint from drying in an uneven manner. Keep reloading the roller when necessary to maintain complete wall coverage.
Step 6: Apply a Second Coat
Check the wall surface when the first coat has dried to identify thin areas and uneven sections. Use the same method to apply a second coat which will create a deep and uniform appearance. The standard requirement for most paint jobs is two coats but dark colors and poor coverage might need three coats. Each coat needs to dry completely before adding another coat. The application of a second coat during this step creates a professional appearance while boosting paint job durability which results in walls that look vibrant and polished.
Step 7: Clean Up
You should gently remove the painter’s tape from the surface when the paint remains slightly wet to prevent any peeling. Rinse your tools with water for latex paint and appropriate solvents for oil-based paint to clean them. Let them dry before storing. After folding drop cloths you should dispose of trash and restore all furniture to its initial position. The combination of proper maintenance with your tools and tidy appearance of your space comes from effective cleanup procedures.
Conclusion
The ability to paint walls with a roller provides homeowners with both financial savings and a modernized appearance for their home. The combination of these steps with the provided tips will help you create professional results that you can take pride in. Pick your preferred color and get your roller to begin transforming your space right now.
