
Are you suffering from a leaking faucet?
A faucet leak is a minor household problem since it’s mostly annoying. However, American households waste over a trillion gallons of water annually. The faster you fix a leaky faucet, the sooner you stop contributing to this problem.
Regardless of your motive, knowing what to do next is always problematic. In this guide, you’ll learn how to fix a dripping faucet. Read on and find out:
Table of Contents
1. Determine the Cause of the Faucet Leak
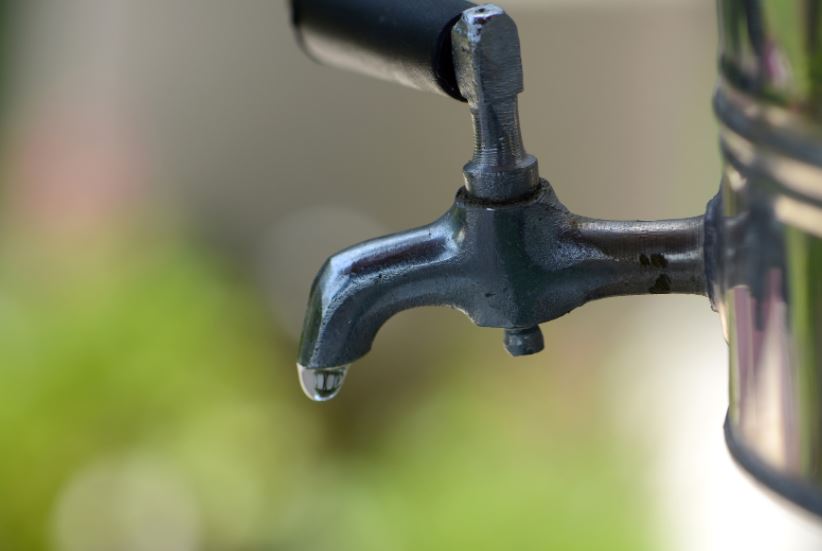
A tiny drip once every 10 to 15 seconds wastes almost half a gallon of water per day. Determining why your faucet keeps dripping is your priority. Check your sink and look for the appropriate traces.
For example, if the water pools around the faucet stem, it’s a probable sign of replacing the O-ring. If it’s still new, check whether the packing nut is loose. Tighten it as soon as you discover it’s the source of the problem.
If the leak comes from the spout, it’s a faucet handle issue.
Learn the type of faucet you have at home. The most common faucet for modern houses is the cartridge faucet. Replace the cartridge to solve your leak problems.
Older homes typically have compression faucets. As time passes, their rubber seals will wear out. If your faucet drips, replace them to remedy the situation.
2. Gather Your Tools
The majority of the necessary tools to fix a leaking faucet are in your toolbox. To ensure everything is in order, check it for the following items:
- Rags
- White vinegar
- Screwdrivers (Philips and flat-head)
- Replacement parts
These basic tools allow you to remove screws and swap the broken components. It also makes cleaning easier. White vinegar is potent in loosening grime buildup.
DIY repairs are often cheap since paying for the parts isn’t budget-breaking. However, you might require some tools for more specialized fixes. You can choose between buying them or contacting a local plumber to repair the faucet.
3. DIY Fix the Faucet
Fixing your leaky faucet isn’t as difficult as some people think. Whether it’s a leaking sink faucet or a shower, follow these steps:
Shut the Water
Before doing repairs, it’s best to turn the water supply off. Check under your sink since it’s where shutoff valves usually are. Turn clockwise until they’re tight.
Don’t force it too much since it causes damage.
Look for your main water valves if you can’t find them under the sink. They’re usually in your basement or near your washer. Regardless, turn the faucet on to release the pressure afterward.
Close the Drain
When taking the faucet apart, you’ll work with small screws. Cover your drain with plugs to avoid losing them in your drain pipes. If you have no plugs, pushing a rag down is an alternative.
Disassemble the System
Depending on your sink, you might remove the faucet body before getting to the problem. Normally, you need only remove the handle. Pay attention to the order and orientation of the components while removing them.
If you do, the faucet system is easier to reassemble. Set the parts aside by the order of disassembly. Take photos to avoid forgetting.
Check the Parts
As mentioned above, o-rings and rubber washers are often the cause of a leaking bathtub faucet. Look for obvious signs of wear and tear. It includes flattened washers or worn grooves.
If your seals and other components look rough, consider replacing them. Take the old components to the store. It ensures you have the right parts for your faucet repair.
Reassemble the System
Assemble the faucet using the pictures you took earlier as references. Use your tools if it’s too difficult. Never force the faucet or other components to work since it will further destroy the system.
Test the Water Flow
After finishing the reassembly, turn the water back on. Ensure the faucet is active while gradually turning the valves. If you apply pressure too quickly, it might result in serious issues.
Keep the water running until it normalizes.
4. Call for Expert Help
If you have no DIY skills, consider getting a plumber for your problem. It’s also applicable if you end up botching the DIY fix. To get the most out of your money, ensure the plumber’s reputability.
Here are some tips to get a plumber for a dripping faucet:
Check the Plumber’s License and Insurance
Ask for their license and insurance. It’s the most important credentials to consider for your desired plumber. Without insurance, they’re a great risk when accidents happen.
Ask for Their Company’s Age
Experience in doing residential faucet repairs matters. A plumber with decades’ worth of experience ensures better service. They’re also unlikely to disappear before completing the repairs.
Look for References and Reviews
Never rely on online advertisements to choose plumbers. A quick Google search is all it takes to reveal their past clients’ experiences. However, the best place to check their reviews is the Better Business Bureau.
Inquire About Estimates
Reputable plumbers won’t give estimates until after they check your faucet. After determining the problem, ask your plumber for a written estimate. It must include labor and component costs.
5. Consider Replacing the Faucet
If you have an old faucet, it will likely give you more issues in the long run. To avoid dealing with more leaking problems, replace your faucet with a more modern model. It’s especially when you have a compression faucet.
Most faucets have a 15 to 20-year lifespan. If yours is near the end of its lifespan, consider replacing it.
Repairs are often cheaper than replacements. The frequency of the former will add up in the long run. If you need repairs every week, get experts to install a more modern faucet.

Repair Your Faucet Leak Today
These are the steps to deal with a faucet leak. Use these to determine the right solution for your leaky faucet.
A leaky faucet might only be a part of a bigger problem. Familiarize yourself with other plumbing issues soon.
Do you want more informative guides? Read our other posts now.
